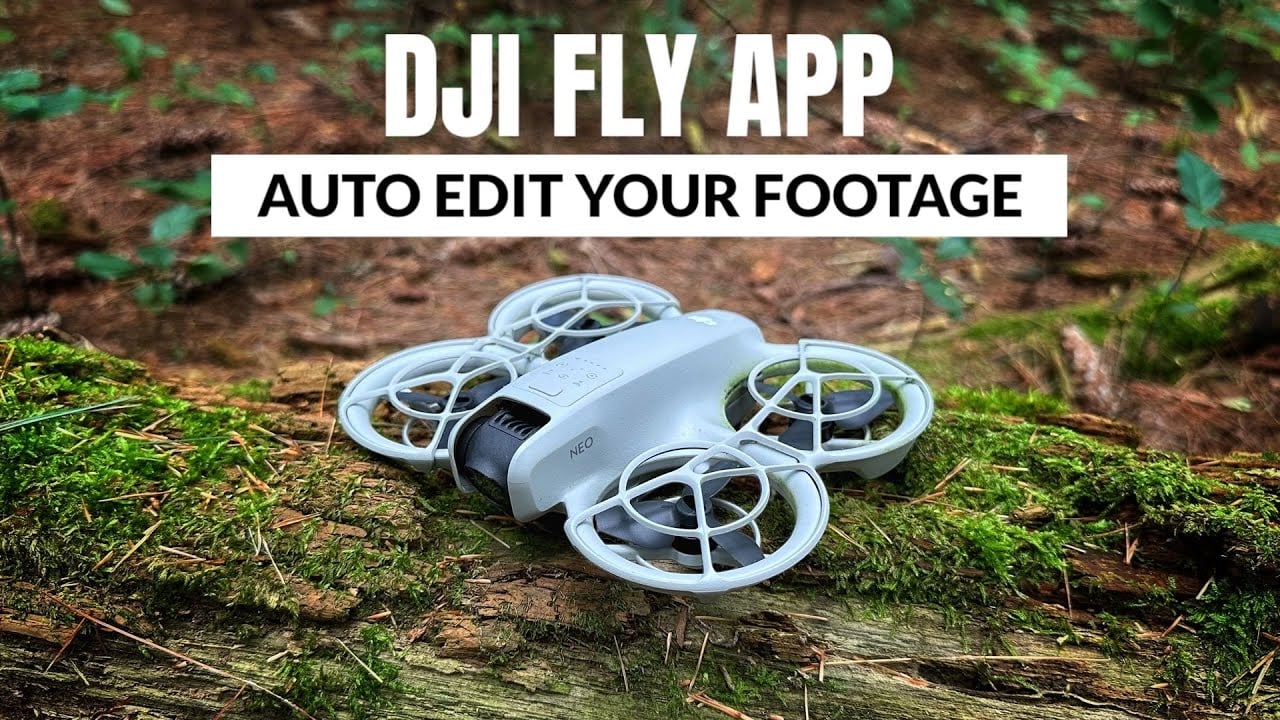
How to Auto Edit Your DJI Drone Footage in the DJI Fly App
Hi everyone! Shawn here from Air Photography. In this article, I’ll guide you through the process of using the DJI Fly App to automatically edit your drone footage. This is the second part of our series; in the first part, we focused on traditional editing using a timeline. Today, we are diving into the auto-editing feature.
Many drone enthusiasts prefer flying and capturing stunning visuals rather than spending time editing the footage. Luckily, the DJI Fly App offers built-in tools that can automatically edit your drone clips, irrespective of whether you are using the DJI Mini 4 Pro, Mavic Air series, Mavic 3, Flip, or DJI Neo. Additionally, you can use footage from any compatible device you’ve recorded.
If you’re new to this, I assume you’ve already transferred your footage to your device.
Setting Up for Auto-Editing
I will demonstrate the process on an iPad, but it works equally well on Android and iOS devices. The DJI Fly App is a powerful editing tool that is user-friendly and rich in features. Although a controller like the DJI RC2 may come with the Fly App pre-installed, it’s advisable to have the app on your mobile device for smoother editing.
To get started, tap the “Create” button located at the bottom of the screen. Note that editing is done in portrait mode. You can export footage in either 16:9 or 9:16, but on an iPad, it will stay in portrait. When you enter the editor, you will see options for “New Project” and “One-Tap Edit.” The “New Project” option is used for timeline editing, as explored in my previous video.
Exploring One-Tap Edit
Today, our focus will be on the “One-Tap Edit” feature. This option offers two auto-editing methods: you can either use the “One-Tap Edit” button or select from pre-made templates—which I’ll discuss later. The “One-Tap Edit” option shows all the footage available on your device. Make sure your footage is in an album; for instance, clips from your iPhone don’t automatically end up in an album, but footage transferred from a drone or action camera will be stored in the DJI album. You can switch albums by tapping on top and selecting one containing your footage. Once in the desired album, pick the clips you want to auto-edit. It’s recommended to choose at least five clips for the best results; I typically go for eight clips.
Previewing and Customizing Clips
Before proceeding, tap the expanding icon on top of any video clip to preview it in full screen and determine if it should be included. This step is optional; the DJI Fly App analyzes the footage to highlight significant moments, but it helps to use highlight markers for specific segments you want to include. These markers appear at the bottom—tap “X” to remove any errors. You can rearrange the clips by dragging them into your desired sequence. After selecting your clips, hit “Next.” The app will then analyze the footage to extract the best parts, which may take a few minutes depending on how much footage you have. For instance, my 20-30 minutes of footage was reduced to just over one minute.
Fine-Tuning Your Auto-Edit
You can further customize your project. Set your preferred aspect ratio—the default is 16:9, ideal for platforms like YouTube—but you can switch to 9:16 for vertical videos. To modify audio, select from templates like “Aerial” or “Nature” located at the bottom of the screen to preview different themes. Fine-tune the music by tapping “Music” and then “More” to access a full library. Under “Edit,” you’ll see all included clips, where you can reorder, and subsequently integrate individual clips by selecting them, tapping on “Extract” to see the source, adjusting start/stop points, or even changing their speed. Zooming into a clip is possible, and you can replace it from your gallery as well. You can also delete unwanted clips and add text or effects, like identifying it as “Drone Video,” while adjusting its duration.
Converting to Timeline and Exporting
If you desire greater control, you can convert your auto-edit into a traditional timeline via “Edit More.” This feature provides standard tools familiar from typical editing software. Set the resolution (ranging from 720p to 4K) and a frame rate (between 30 to 60 FPS), then tap “Export” to save it to your camera roll. The Fly App also offers options for sharing directly to social media, or you can share it manually from the Photos app. Any unfinished edits will be saved in the “Drafts” folder on the main page. You can tap on a draft to adjust and re-export it.
Using Pre-Made Templates
Alternatively, consider utilizing pre-made templates such as “Hiking Adventure.” After previewing, you’ll see it requires 15 clips for a 25.1-second edit. Just tap “Use,” fill the slots with your clips (I was a clip short), and remove any extras if necessary. Hit “Next” for analysis and generation of the edit, then refine it just like before.
Conclusion
This overview provides a glance at auto-editing with the DJI Fly App. It’s an excellent choice for those pressed for time or less inclined towards detailed editing, resulting in shareable video clips for social media, family, or friends. It lets you focus on flying and capturing with drones like the Mini 4 Pro or DJI Neo. If you found this video helpful, please give it a thumbs up! Thank you for watching, and see you in the next guide!
For the original article, visit: Original Article
