


Drone Edit Magic: Expert Techniques to Enhance Your Aerial Photography
Welcome back, drone enthusiasts! Today, I’m excited to share valuable insights and techniques that can elevate your aerial photography from basic to professional.
Understanding Client Needs
The initial step in producing stunning aerial images is comprehending your client’s requirements. Are the photos destined for social media, print, or a website? This information helps you tailor the images appropriately. For instance, if the photos are for online use, prioritizing speed and SEO is essential over high resolution.
Effective communication with your client is crucial. If you’re representing your personal brand, clarify how the images will be used. Large, high-resolution images may not suit a website focused on load speed and SEO.
Production Techniques
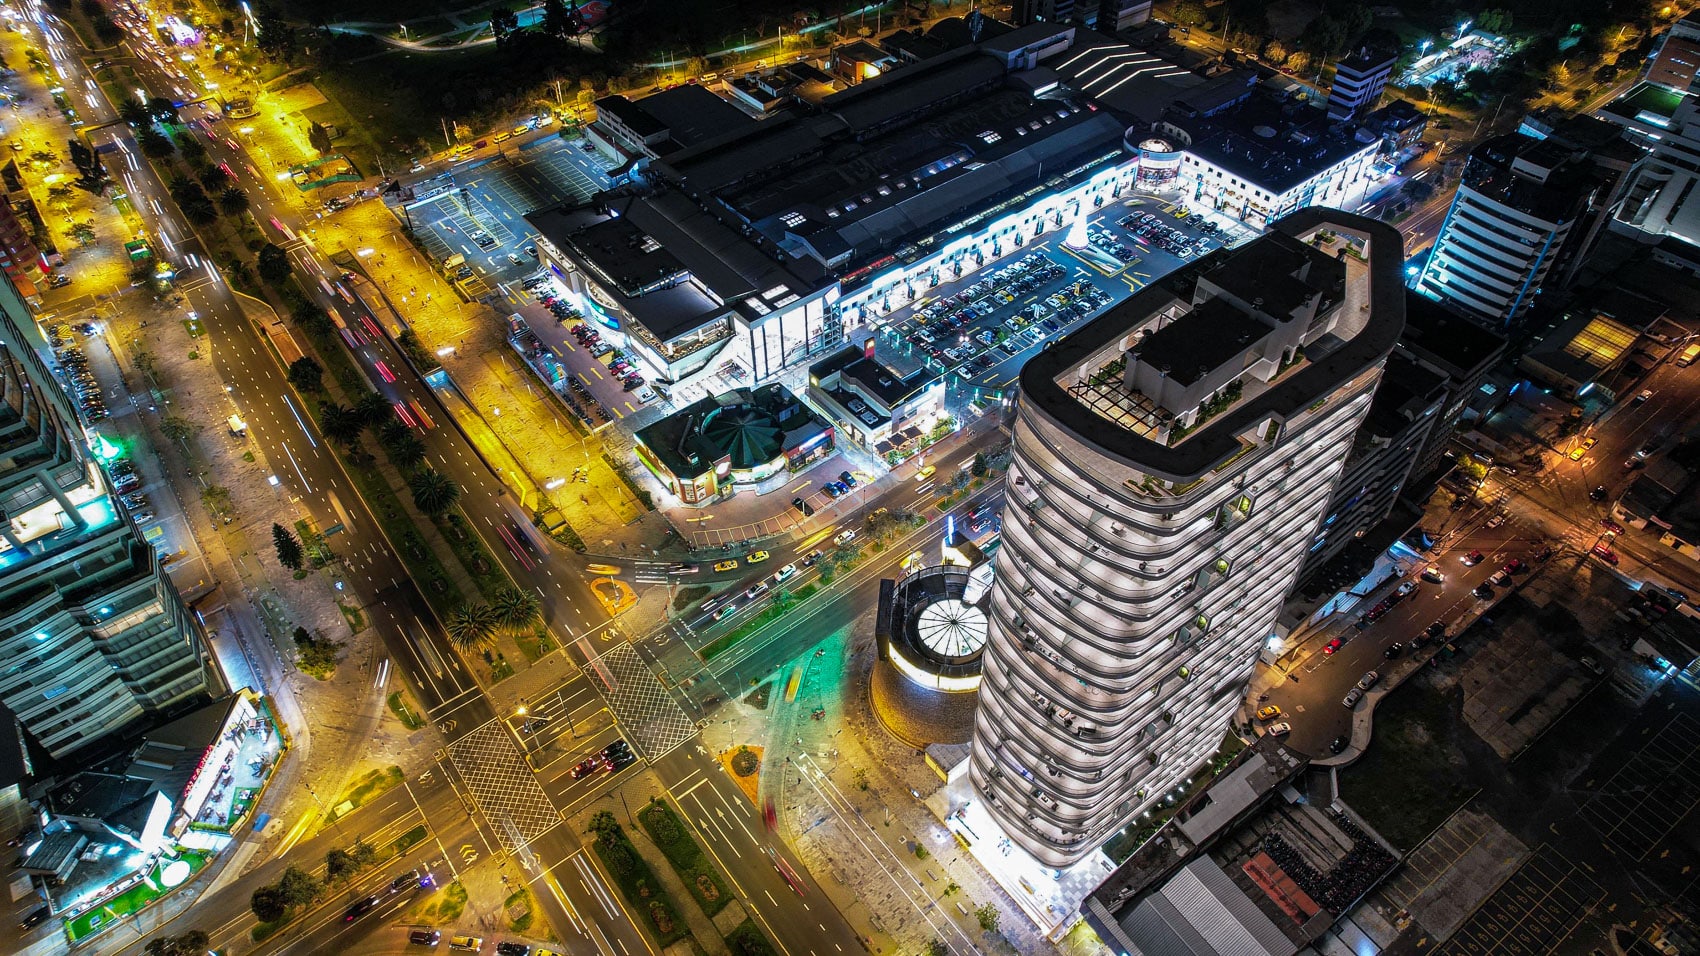
When you have a clear understanding of your client’s expectations, begin your photo shoots. Always shoot in RAW format when possible, as it provides greater flexibility in post-processing. If your drone does not support RAW (like the DJI Mavic Mini or DJI Neo), proceed with underexposing the images. This technique allows for more detail recovery during post-processing and helps avoid blowouts in highlights.
Image Culling and Editing Software
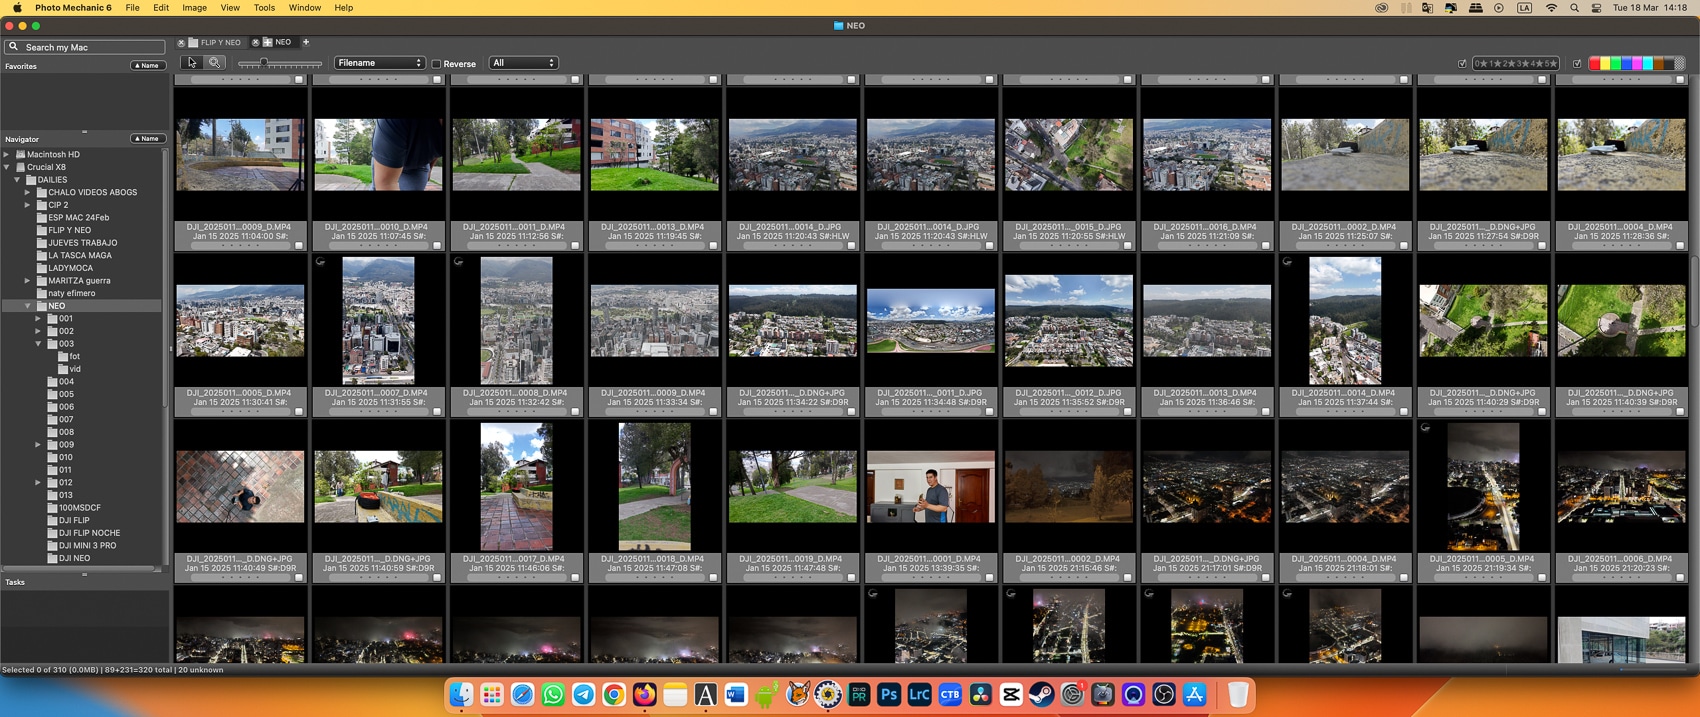
After capturing your images, the next step is culling to identify the best shots. For this process, I recommend using Photo Mechanic. This software is designed for speed, allowing you to quickly sift through thousands of images without lag, enhancing your efficiency.
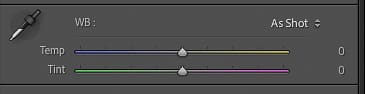
Once you’ve selected your preferred images, import them into Adobe Photoshop Lightroom. Here, you can utilize the ‘Develop’ module for detailed editing. Begin by adjusting the white balance to correct any color cast, which can significantly elevate your photograph’s appeal.
Further Adjustments in Lightroom
After correcting the white balance, take care to reduce any highlights if your images appear overexposed. Adjust the ‘Blacks’ slider to balance the black point and control the shadow detail as needed. Additionally, carefully utilize the ‘Texture’, ‘Clarity’, and ‘Dehaze’ sliders to enhance your image without overdoing it.
Exporting for Different Uses
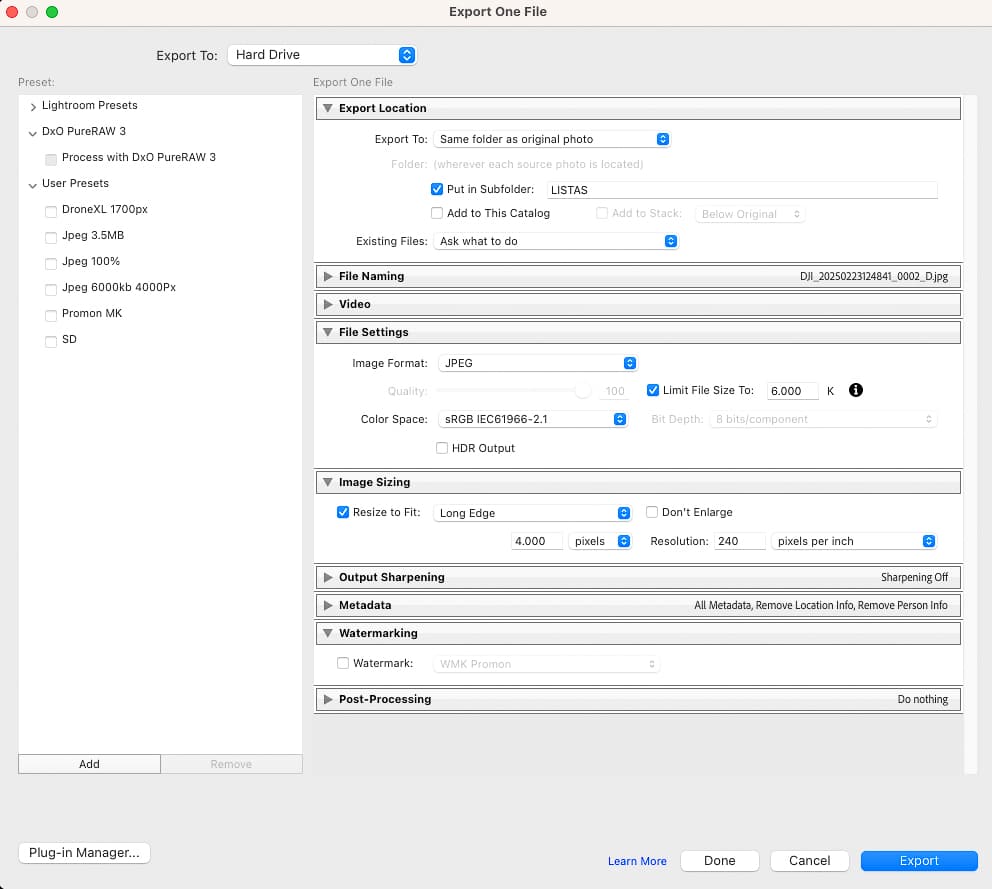
The final step involves exporting your edited images. Knowing the end use of the images greatly influences file size and resolution. For web usage, prioritize smaller file sizes; for print, opt for the highest resolution possible.
I hope this brief tutorial has inspired you to refine your drone photography techniques. I would love to see your edited images; feel free to share links below!
Let’s Aim for Professionalism in Aerial Photography!