Enhancing Your Pocket 3 Footage for a Cinematic Experience
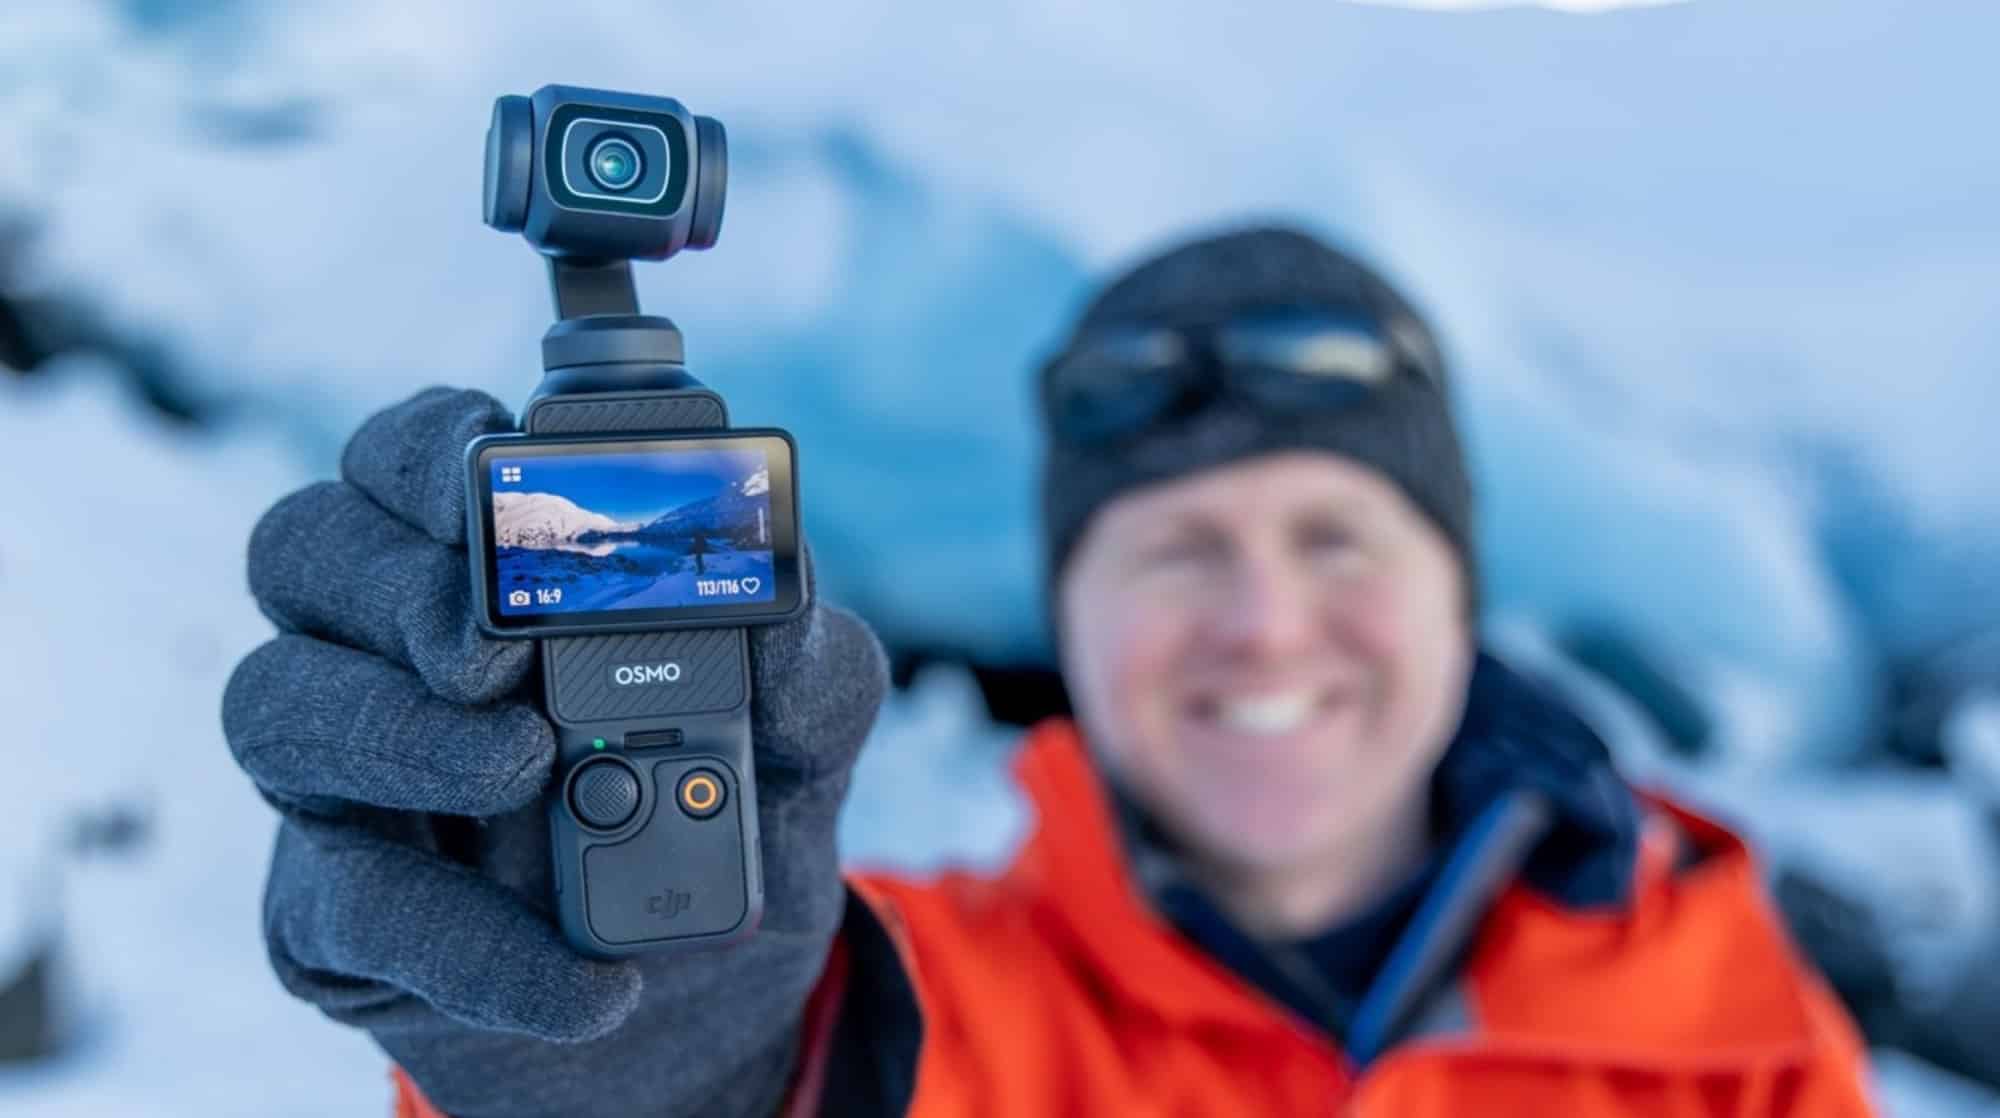
Are you keen on improving the cinematic quality of your Pocket 3 footage? This comprehensive guide is designed to introduce various techniques that will elevate your video captures to a professional level. Sponsored by K&F Concept, the techniques discussed here can significantly enhance the visual appeal of your content.
Beginner Techniques for Better Footage
Though the Pocket 3 is equipped with an auto mode, manually adjusting certain settings can lead to superior results. Here’s how:
- Open the Menu: Swipe from the right to the left to access the menu.
- Adjust ISO and Exposure: Change the auto exposure settings and set the ISO to between 50 and 100. Modify the exposure level to -0.3 to safeguard highlights, preserving details in bright regions, like clouds.
- Lock the White Balance: To avoid color inconsistencies in varying scenes, set the white balance to auto, let it stabilize, and then switch to manual. Alternatively, you can adjust it manually by swiping up or down. Locking the white balance is crucial, especially with significant changes in lighting conditions.
Advanced Settings for Optimal Results
For those desiring more control and dynamic range in their footage, consider implementing the following advanced settings:
- Select D-Log M Color Profile: Although the normal 10-bit color profile is suitable for quick sharing on social media, filming in D-Log M provides enhanced dynamic range and flexibility for later editing. To switch to D-Log M, swipe, tap the color profile, and choose between normal, D-Log M, or HLG.
- Manual Exposure and Shutter Speed: For the best filming, adjust the exposure manually. Set the ISO to between 50 and 100, optimizing the Pocket 3’s performance, and adjust the shutter speed to double your frame rate (e.g., 1/60 for 30 fps). This may lead to overexposure, which can be adjusted using a neutral density (ND) filter.
Utilizing ND Filters for Motion Blur
K&F Concept offers a range of high-quality ND filters, including both variable and fixed versions like the ND32. These filters limit the light entering the lens, allowing for a natural motion blur by keeping the shutter speed correct. For instance, if you’re shooting at 1/60 shutter speed, employing an ND32 filter will combat overexposure while ensuring smooth, natural motion in fast-moving scenes like cars or waterfalls. Adhering to the “180-degree rule,” where the shutter speed is set to approximately double the frame rate, is key for optimal motion blur.
Creative Lenses for Unique Footage
To diversify your shooting capabilities, consider the additional lenses offered by K&F Concept:
- Macro Lens: Perfect for close-up shots that showcase intricate details with a soft background blur, enhancing visual appeal.
- Wide-Angle Lens: Expands your field of view, making it ideal for capturing expansive scenes or multiple subjects in a confined space.
- Anamorphic Lens: Slightly broadens the frame and adds blue lens flares, catering to sci-fi aesthetics or charming nighttime city scenes with lights. Remember to desqueeze these shots during post-production for maximum effect.
The magnetic design of these lenses ensures compatibility with ND filters, adding versatility without any issues.
Essential Accessories for Versatile Shooting
Selfie Stick
A lightweight carbon fiber selfie stick from K&F Concept is excellent for quick setups, especially for dynamic tracking shots. More portable than a tripod, it allows for varied angles without revealing that you are holding a camera.
Magnetic Mount
A handy magnetic mount enables you to attach the Pocket 3 to magnetic surfaces, such as car hoods or shelves, for creative angles. Its foldable design allows for easy positioning for quick shots, enhancing your storytelling.
Capturing Quality Footage Inside a Vehicle
For capturing impressive car footage, consider the following tips:
- GoPro Finger Mount: K&F’s quarter-20 GoPro finger mount simplifies transitions between setups, including selfie sticks or dashboard mounts, with USB-C pass-through functionality to keep the Pocket 3 charged.
- TFPV Mode: Engage TFPV mode to lock the tilt and roll axes, preserving the horizon during turns for smoother shots.
- Focus Settings: For shots captured through the windshield, utilize single focus mode with the focus set to infinity to avoid distractions from raindrops or windshield wipers. For self-filming, employ active track mode to maintain focus on your face while keeping the tracking smooth.
- Audio Quality: Pair the Pocket 3 with a DJI Mic 2 or similar lapel microphone to capture clearer audio, minimizing ambient car noise.
Crafting a Story to Elevate Cinematic Impact
Beyond just the technical specifications, compelling storytelling plays a crucial role in achieving cinematic quality in footage. Utilize creative angles, various lenses, and strategic mounts to construct a narrative that showcases your experience or surroundings, setting your Pocket 3 footage apart and making it more engaging.
Conclusion
A special thanks to K&F Concept for sponsoring this guide and supplying tools that enhance your video creation process. Wherever possible, the links to the products mentioned are included in the description. If you’re interested, be sure to check them out for affordable and effective solutions. For more insights, watch the recommended video, ask questions in the comments, or join my live stream most Wednesday evenings at 4:00 PM Alaska time (8:00 PM Eastern). See you soon!
